Your complete guide to local moving in Queens, NY
- Home
- »
- Local Moving
- »
- Your complete guide to local moving in Queens, NY
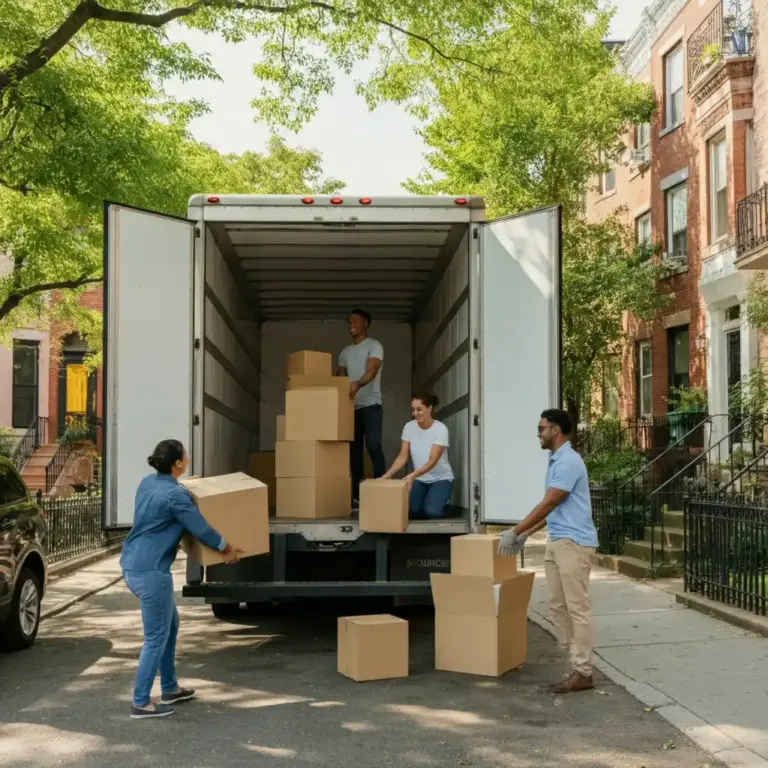
Moving within Queens can feel overwhelming, especially when you’re dealing with narrow streets, parking restrictions, and building requirements. But with the right preparation and planning, your local move can be smooth and stress-free. This comprehensive guide walks you through every step of the process, from initial planning to settling into your new home.
Whether you’re relocating from Astoria to Long Island City or moving across the borough, proper preparation makes all the difference. Let’s explore how to tackle your Queens move with confidence.
Planning and preparation
Set your moving date and create a timeline
Start planning your move 4-6 weeks in advance to secure the best rates and availability with Queens NY relocation experts. Choose your moving date carefully, avoiding peak times like the end of the month when elevators and building access become more challenging.
Create a detailed timeline that includes:
- Booking your moving company
- Ordering packing supplies
- Starting the decluttering process
- Notifying relevant parties of your address change
- Arranging time off work for moving day
Declutter and downsize your belongings
Before you start packing, take inventory of what you own. Moving is the perfect opportunity to lighten your load and reduce moving costs.
Sort items into four categories:
- Keep: Essential items you use regularly
- Donate: Items in good condition you no longer need
- Sell: Valuable items that could bring in extra cash
- Trash: Broken or unusable items
Remember, hazardous materials like paint, propane, and cleaning chemicals cannot be moved by professional movers, so plan to dispose of these safely.
Gather your packing supplies
Quality packing materials protect your belongings during the move. You’ll need:
- Sturdy moving boxes in various sizes
- Packing tape and dispensers
- Bubble wrap for fragile items
- Packing paper or newspaper
- Permanent markers for labeling
- Plastic wrap for protecting furniture
Many moving services in Queens New York offer packing supplies as part of their service packages, which can save you time and ensure you have professional-grade materials.
Effective packing strategies
Pack room by room
Tackle one room at a time to stay organized and avoid feeling overwhelmed. This approach also makes unpacking much easier at your destination.
Start with rooms you use least frequently, such as:
- Storage areas and closets
- Guest bedrooms
- Formal dining rooms
Save daily-use areas like the kitchen and master bedroom for last.
Label boxes clearly
Proper labeling saves hours during unpacking. Include:
- The destination room
- A brief description of contents
- “Fragile” warnings when necessary
- Priority level (essentials vs. non-essentials)
Consider using different colored tape or stickers for each room to make identification even easier.
Protect fragile items
Delicate items require special attention. Wrap each piece individually in bubble wrap or packing paper. Fill empty spaces in boxes with additional padding to prevent items from shifting during transport.
For extremely valuable or fragile items like artwork, antiques, or electronics, consider professional packing services that specialize in these materials.
Hiring professional movers
Research Queens-based moving companies
Not all moving companies understand the unique challenges of Queens relocations. Look for movers near Astoria Queens or Long Island City moving services that have local experience.
When researching companies, verify they have:
- Proper licensing and insurance
- Positive customer reviews across multiple platforms
- Experience with your specific type of move
- Knowledge of local building requirements
Get multiple quotes and understand pricing
Contact at least three different moving companies for quotes. Reputable NYC borough movers will offer transparent pricing without hidden fees.
Be wary of estimates that seem significantly lower than others, as these often result in surprise charges on moving day. Quality moving services in Queens New York typically price moves based on:
- Total volume of your belongings
- Distance of the move
- Complexity factors like stairs or elevator restrictions
- Additional services requested
Verify insurance and certifications
Ensure your chosen moving company carries adequate insurance coverage. Many luxury buildings in Queens require a Certificate of Insurance (COI) before allowing moves to proceed.
Ask your moving company about their COI process and make sure they can handle this requirement promptly. Delays in COI submission can postpone your entire move.
Important considerations for Queens moves
Building requirements and COI
Queens apartment buildings, especially luxury properties, often have strict moving requirements. Common requirements include:
- Certificate of Insurance from your moving company
- Advance elevator reservations
- Specific moving hours (often weekdays only)
- Deposit requirements for potential damages
Contact your building management at both your current and new addresses to understand all requirements well before moving day.
Parking permits and logistics
Queens’ busy streets can make parking a moving truck challenging. Some areas require special permits for large vehicles or temporary parking reservations.
Your moving company should handle these logistics, but confirm this during the booking process. Professional Queens NY relocation experts will know which streets require permits and how to obtain them.
Notify relevant parties
Create a checklist of everyone who needs your new address:
- Post office (for mail forwarding)
- Banks and credit card companies
- Insurance providers
- Subscription services
- Healthcare providers
- Employer and schools
- Utility companies
Start this process early, as some changes take several business days to process.
Moving day execution
Oversee the process and stay available
Be present during the move to answer questions and provide guidance. Keep important documents, valuables, and essential items with you rather than packing them with household goods.
Maintain clear communication with your moving team leader and address any concerns immediately.
Conduct a final walkthrough
Before the movers leave your old residence, do a thorough walkthrough to ensure nothing is left behind. Check:
- All rooms, including closets and storage areas
- Cabinets and drawers
- Basement and attic spaces
- Outdoor areas like balconies or storage units
Take photos of any existing damage at your new location before unloading begins.
Unpacking and settling in
Prioritize essential items
Unpack strategically by focusing on necessities first:
- Bedroom basics for a good night’s sleep
- Kitchen essentials for meals
- Bathroom supplies
- Work materials if you need to return to work quickly
Having these basics in place helps you feel settled while you tackle the rest of your belongings at a comfortable pace.
Organize as you go
Rather than simply emptying boxes, take time to organize items in their new spaces. This might take longer initially, but saves significant time later and helps you feel more at home quickly.
Dispose of packing materials responsibly
Most packing materials can be recycled or reused. Check with your local waste management for recycling guidelines, or consider offering boxes to friends who might be moving soon.
Make your Queens move a success
Local moving in Queens doesn’t have to be stressful when you plan properly and work with experienced professionals. From understanding building requirements to navigating busy streets, the right preparation and moving team make all the difference.
Ready to start your Queens relocation? Contact Dream Moving today for a free, no-obligation quote. Our experienced team understands the unique challenges of Queens moves and provides comprehensive services to make your transition smooth and stress-free.